Friday, November 16, 2012

Tie Wreath


It's the home stretch of the tie marathon!  This one might be my favorite!  I am planning on hanging it on my door when we are done with it at the shower!  Generally I rarely keep anything I make for myself.  Most of my jewelry, hats and scarves go to the shop and I love to give things to people as gifts.  But, I love this tie wreath, I really do!  Also, our front door is red so I think it will look super cute!

Supplies:
Wreath - the one I used was straw, I think you could use a Styrofoam one but I am not sure how it would handle the hot glue gun
Ties
Hot Glue Gun
Flower (optional)
Sewing Machine or needle and thread


I used the parts of ties that I had left over.  But, if you are starting from scratch with new ties I used approximately 195 inches of ties. First, I sewed the ends of the ties together, small ends to small ends and larger ends to larger ends.

Then, I broke out the glue gun!  I started by gluing a small end of the tie chain to the back of the wreath.


Then, I wrapped the tie around the wreath and glued the front.


I was pretty liberal with my application of the glue as I wanted to be super sure that it stuck.  I just kept wrapping and gluing.  I overlapped the ties a bit so that none of the wreath would show through.  I this got a little trickier as I came to the wider parts of the ties but in the end you can't even tell that was an issue.
 
Wrap and glue, wrap and glue until the whole wreath is covered. Then, if you want, add an adorable flower to give it a bit of a feminine touch.


I just love, love, love this one!


Thursday, November 15, 2012

Tie Gift Bags


Ok, this is the second to last posting on my tie-riffic tutorials.  Get it?  I think I am getting a little slap happy and a little bit at a loss over what more to write about ties.  I have finished my tie key chains and my tie coffee cozies.  But I can't just hand them to people as they leave, no I have to have them in appropriate containers.  Can you guess what they are?  Gift bags with ties on them!!!!!!  This gave me another opportunity to use some of my scrapbook paper stash.  

Supplies:
Scrapbook Paper
Brown Lunch Bags
Scissors
Hole Punch 
Ribbon/Yarn/String

First, I selected the paper I wanted to use.


Next, I traced my tie onto the back of the paper.  For those of you that did not read my last post, here is the link to the tie template I have been using.  Also, here is a picture of it a little smaller.

Just like last time I was able to trace 4 ties on each piece of paper.  


Cut out all of your ties. 

Place the tie on top of the brown paper bag and punch a hole through the tie and the bag. 


Next, insert your bag contents. 


Lastly, close up the bag by tying yarn/ribbon or string through the holes.  I ended up using yarn, I would have loved to use some satin ribbon but I am horrible at tying bows and didn't want to embarrass myself  by putting a picture of one of my awful bows where anyone could find it. 

Presto, an adorable gift bag for the shower.  


Thanks for hanging in there with me folks!  Only one more tie tutorial to go!

Friday, November 9, 2012

Tie Banner


Yep - I am still working on tie items for my friends baby shower.  But, I am on the home stretch.  I have only a few more key chains and coffee cozy's to make.  In the meantime while I am watching TV with the hubby in the evening I have been making some decorations for the shower.  Initially I wanted to use real ties to make all of the decorations, but alas I don't think I will have enough ties, time or energy to make that happen.  So, I had to improvise.  Here's a fun fact for you, back in the day I was an avid scrapbooker and card maker.  I have fallen off that train a bit and moved onto other things but of course I still have a huge stash of supplies!  I love printed paper almost as much as I love ties.  If you haven't guessed yet, prints and patterns are a definite weak point of mine.  So, back to my love of printed paper.  Upon pondering what decorations to make and considering the time frame I had to work with I decided that I had enough printed paper in my stash to make decorations.  I love etsy and have noticed these adorable banners that people have been making for parties etc. well, a shower is a form of a party so why can't I make one?
My Inspiration

Supplies needed:
Beautiful, colored and patterned paper
Scissors
Yarn or String
Hole Punch


Of course I couldn't make just a plain banner!  Oh no, mine had to be tie themed!  So, I went to one of my favorite places on the web, Google images.  I found this awesome tie image by "googling" tie outline tie template.  I printed it onto a piece of card stock since I knew I would be using it a bunch and wanted to make sure it was relatively sturdy. 

Next, I went through my collection of paper and picked out the pieces I wanted to use.  My friend didn't want "baby" colors at her shower, she prefers bolder, manlier colors (she is having a boy so manly colors are appropriate.) 


After selecting my paper, I traced the tie onto the back of the paper.  I fit four ties on each 12x12 piece.  I tried really hard to fit a fifth on one but I could not make it happen.  


Next, I punched a whole on each side of the tie. 

Then, I strung all of the ties onto a doubled up piece of yarn. I doubled it so that the ties would stay in place without adding knots to keep the ties in place.


I left a long tail on each side of the banner so that I could tie it into place easily on windows etc. For a patio door I ended up using 12 ties. 


You may be sad (or happy) to find out that I only have two more tie tutorials to share with you before the shower.  And, of course I will share some pics of the shower with you so you can see how fab everything turned out.  My friend Nicole (who had the original idea for a tie themed shower) and the brains behind the blog More Beets Please is cooking up most of the food and I can't wait to taste her amazing dishes.  She is a MARVELOUS cook.  


Monday, November 5, 2012

Tie Coffee Cup Cozies


Here it is folks, part two of my tie tutorials.  I think once I am done making tie related items for this baby shower I might be over my obsession with ties.  While I still love the colors, patterns and fabrics they come in I am also learning that they can be a bit hard to work with.  I am in no sense of the word an expert seamstress, so I am sure there are much easier ways to sew ties than how I am doing it.  But, even if it's a little frustrating I am still able to sew them.

A couple of years ago a friend of mine gave me a fabric cozy to use on my daily coffee run.  In those days I would go get a cup of fancy schmancy coffee every morning (large mocha, no whip cream, soy milk).  It always seemed like a waste to have the coffee cup, lid and the paper wrap around it to keep your hands from getting too hot.  My friend found this cozy at a craft sale and I faithfully used it for several years.  Now, we have a Keurig in the office and I use that for my morning coffee.  It's not quite as good but the cash it saves me is worth a little sacrifice on the taste.  Every once in a while I still go get my fancy coffee because some days you just need that pick me up.  Upon contemplating what to do with all of the ties I have and how to make them into baby shower favors I decided that they would make excellent coffee cozy's.  So, here is my little tutorial on how I made these little guys.

P.S. if anyone knows the official name of what these are called I would love to know.  I think I just made the name up myself!
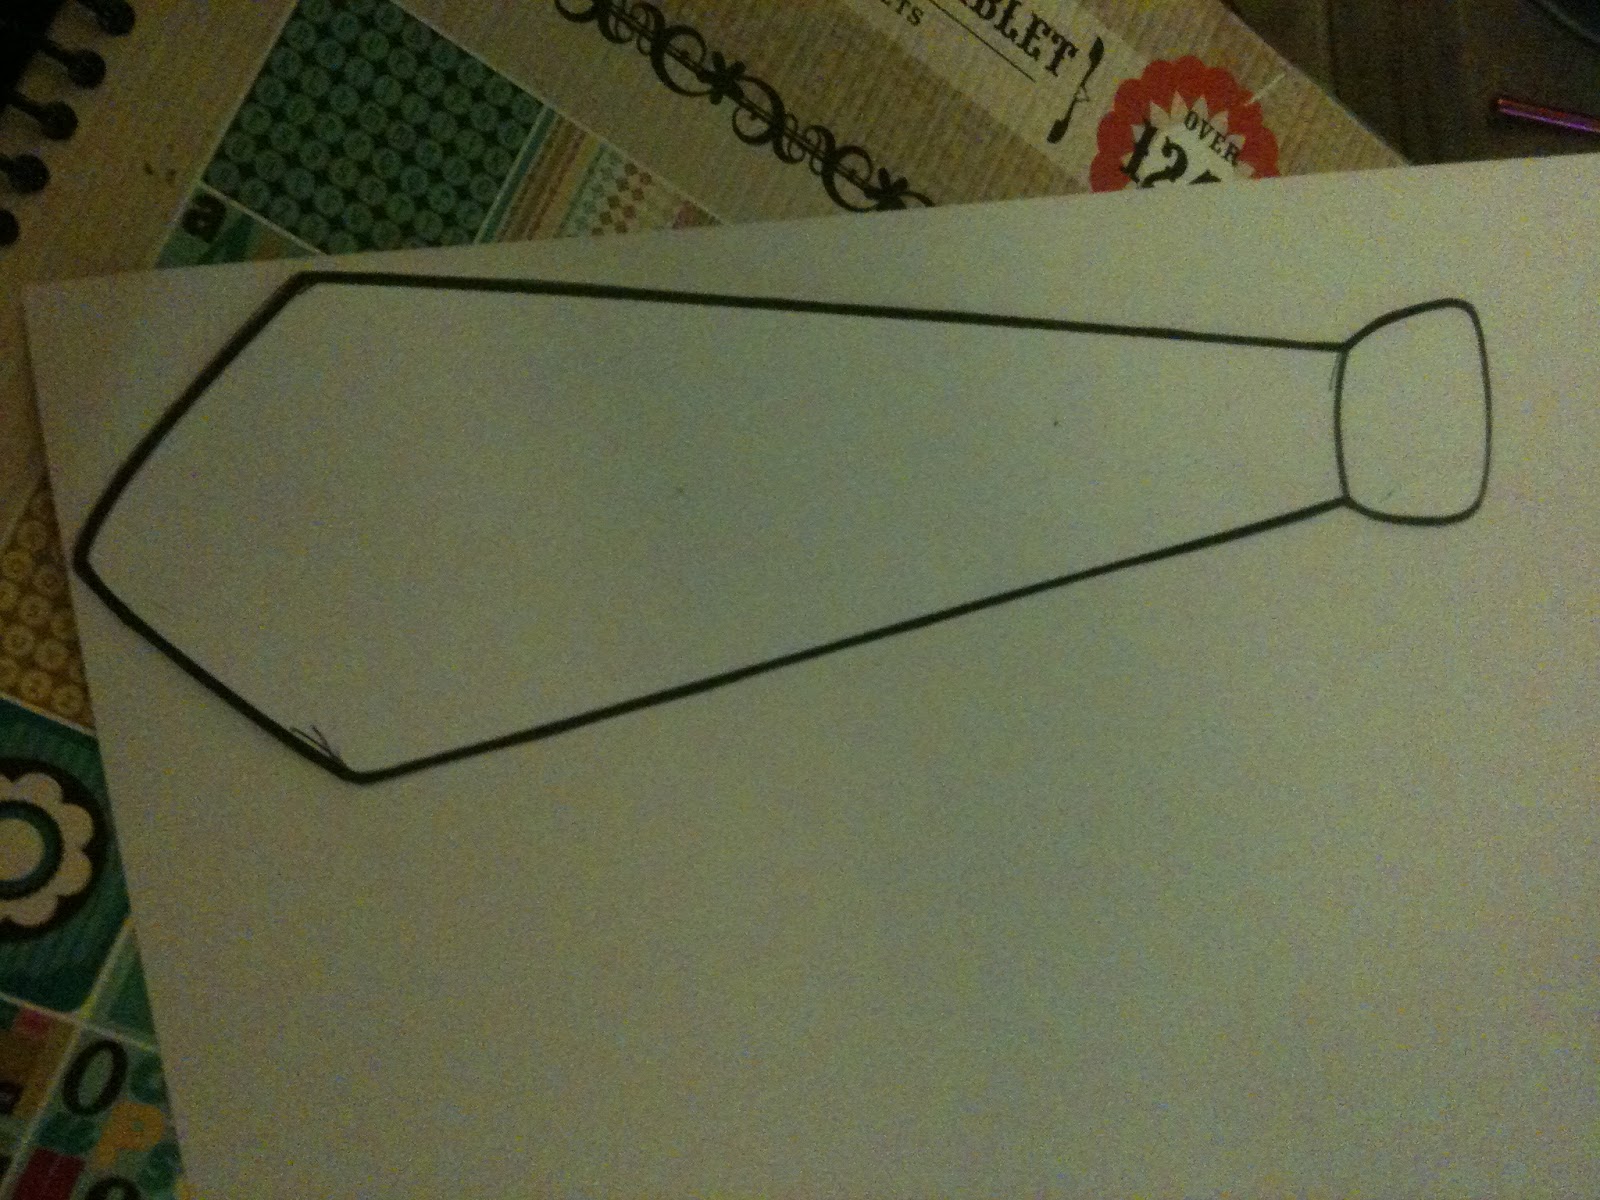
The Inspiration

What to avoid
You will need:

Tie (shocking, I know)
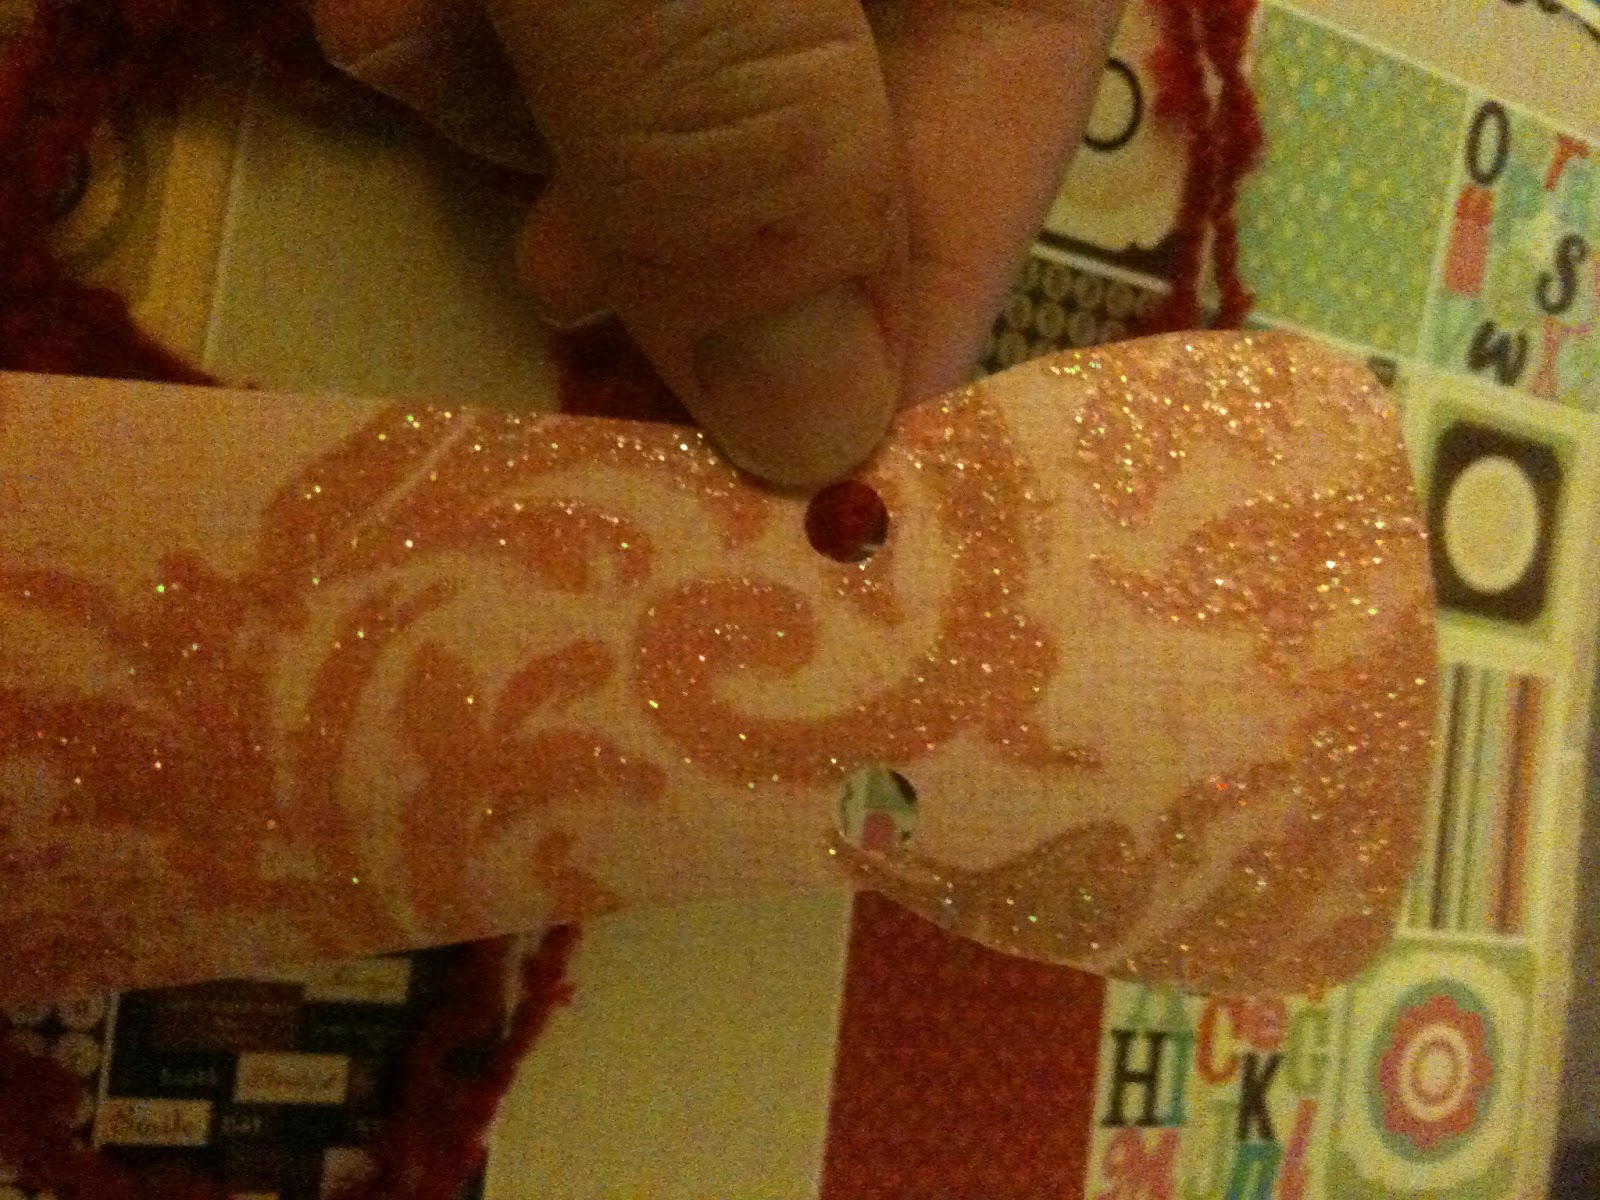
Button that corresponds with your tie
Ponytail holder
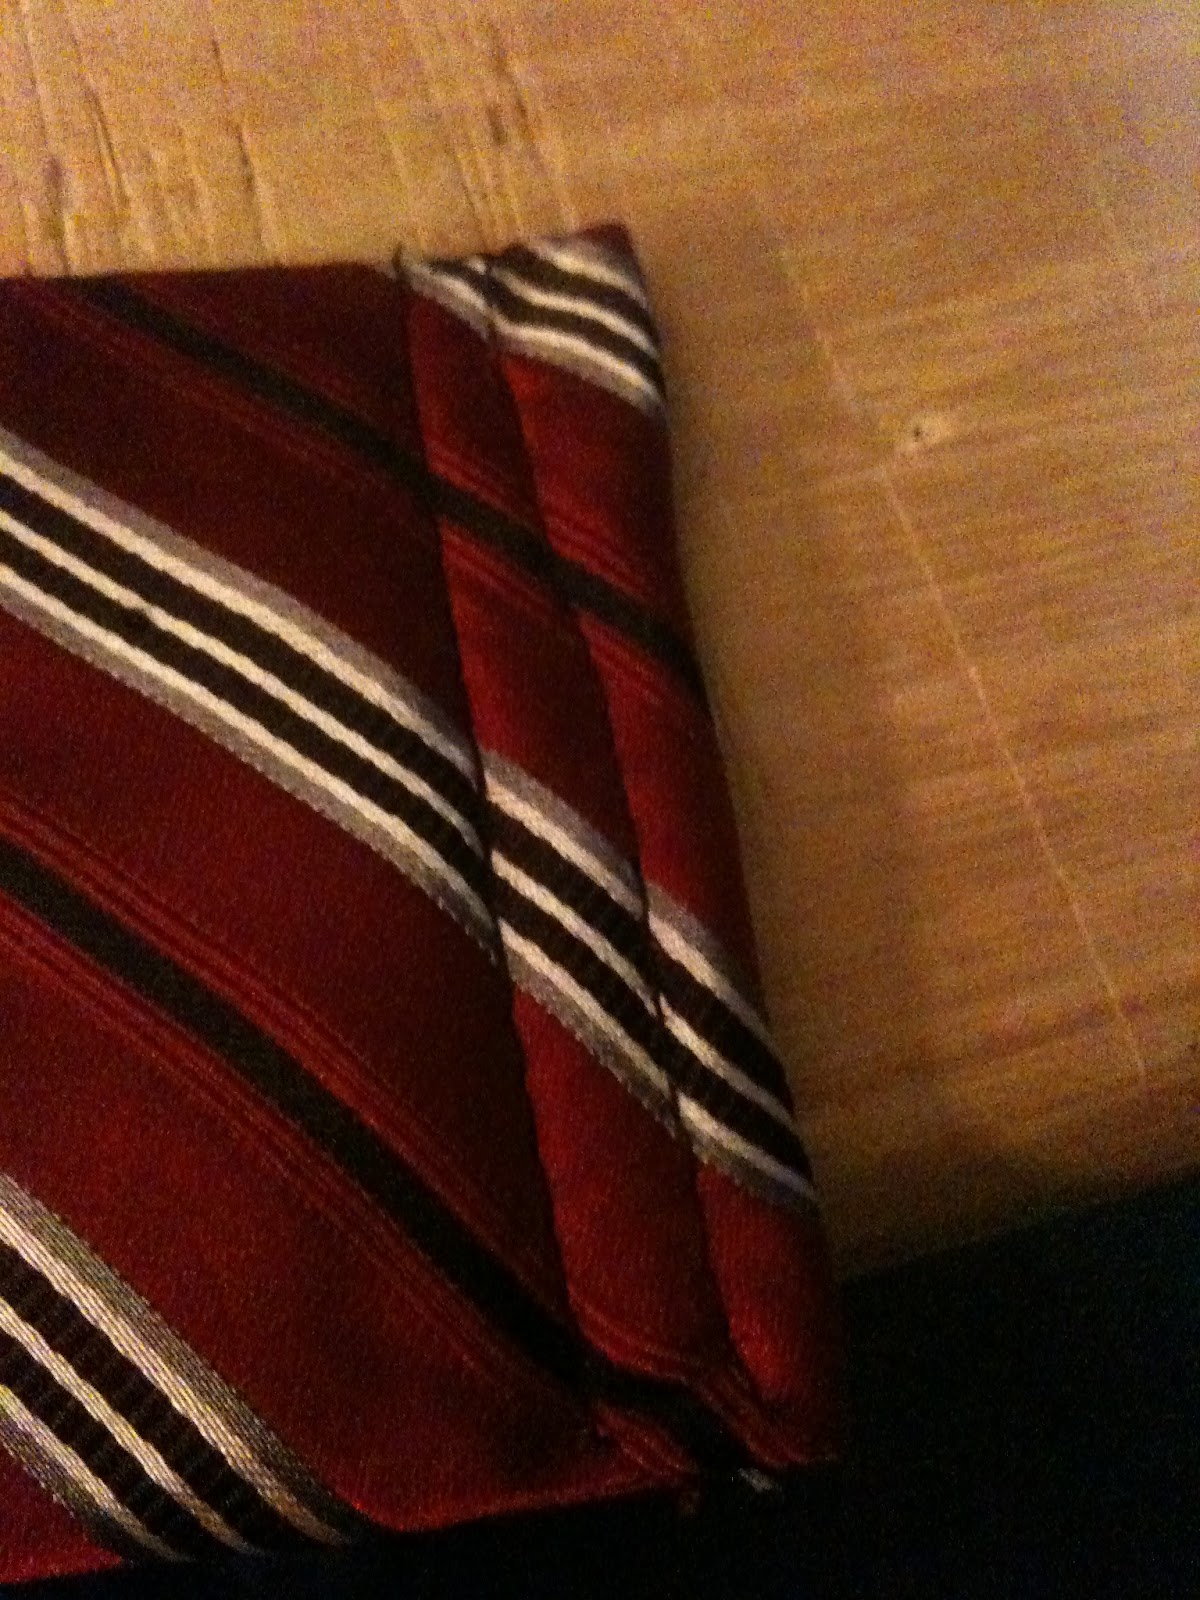
Cut off approximately 14" of the tie, using the larger end of the tie. 
Fold the unfinished edge of the tie over two times and pin in place.  I folded over about 3/4 of an inch and then folded that over again. 
Folded once

Folded twice
Pin in place


Next, sew up the folded over, pinned edge.
I am going to just tell you right now that I had a bit of trouble getting this to sew smoothly, for some reason the material did not want to move through the machine so I had to pull and prod it through a bit.  Not sure if this was the material, the machine or my sewing skills.  It was probably my sewing skills!  But, I wanted to throw that in there so in case you have the same issue you know it's not just you!

I sewed this edge 2-3 times to make sure it was really closed and solid
Next, sew the ponytail holder onto the tip end of the tie.  I did this part by hand and did not sew right on the tip but a tiny bit in so that it would be secure. 
Next, grab your button and measure about 7" from the tip of the tie.  Sew the button between 7-8" from the tip of the tie.  I also sewed mine towards the top of tie so that the opening was smaller at the bottom and would form a cone around the cup. 

Lastly, wrap around a coffee cup, secure ponytail holder around button and sip your favorite hot beverage!
This cup is not the best example since it is so short, but you get the idea, right?
Here are a couple I have done, only 12 more to go before the shower!

This could also be a fun addition to a coffee lovers Christmas gift!  Grab a basket, a coffee gift card, some actual coffee and throw in one of these babies and you will have one happy coffee drinker!